Portable (Large) Installation
Ensure your tracker has been activated prior to installation:
Locate the screws
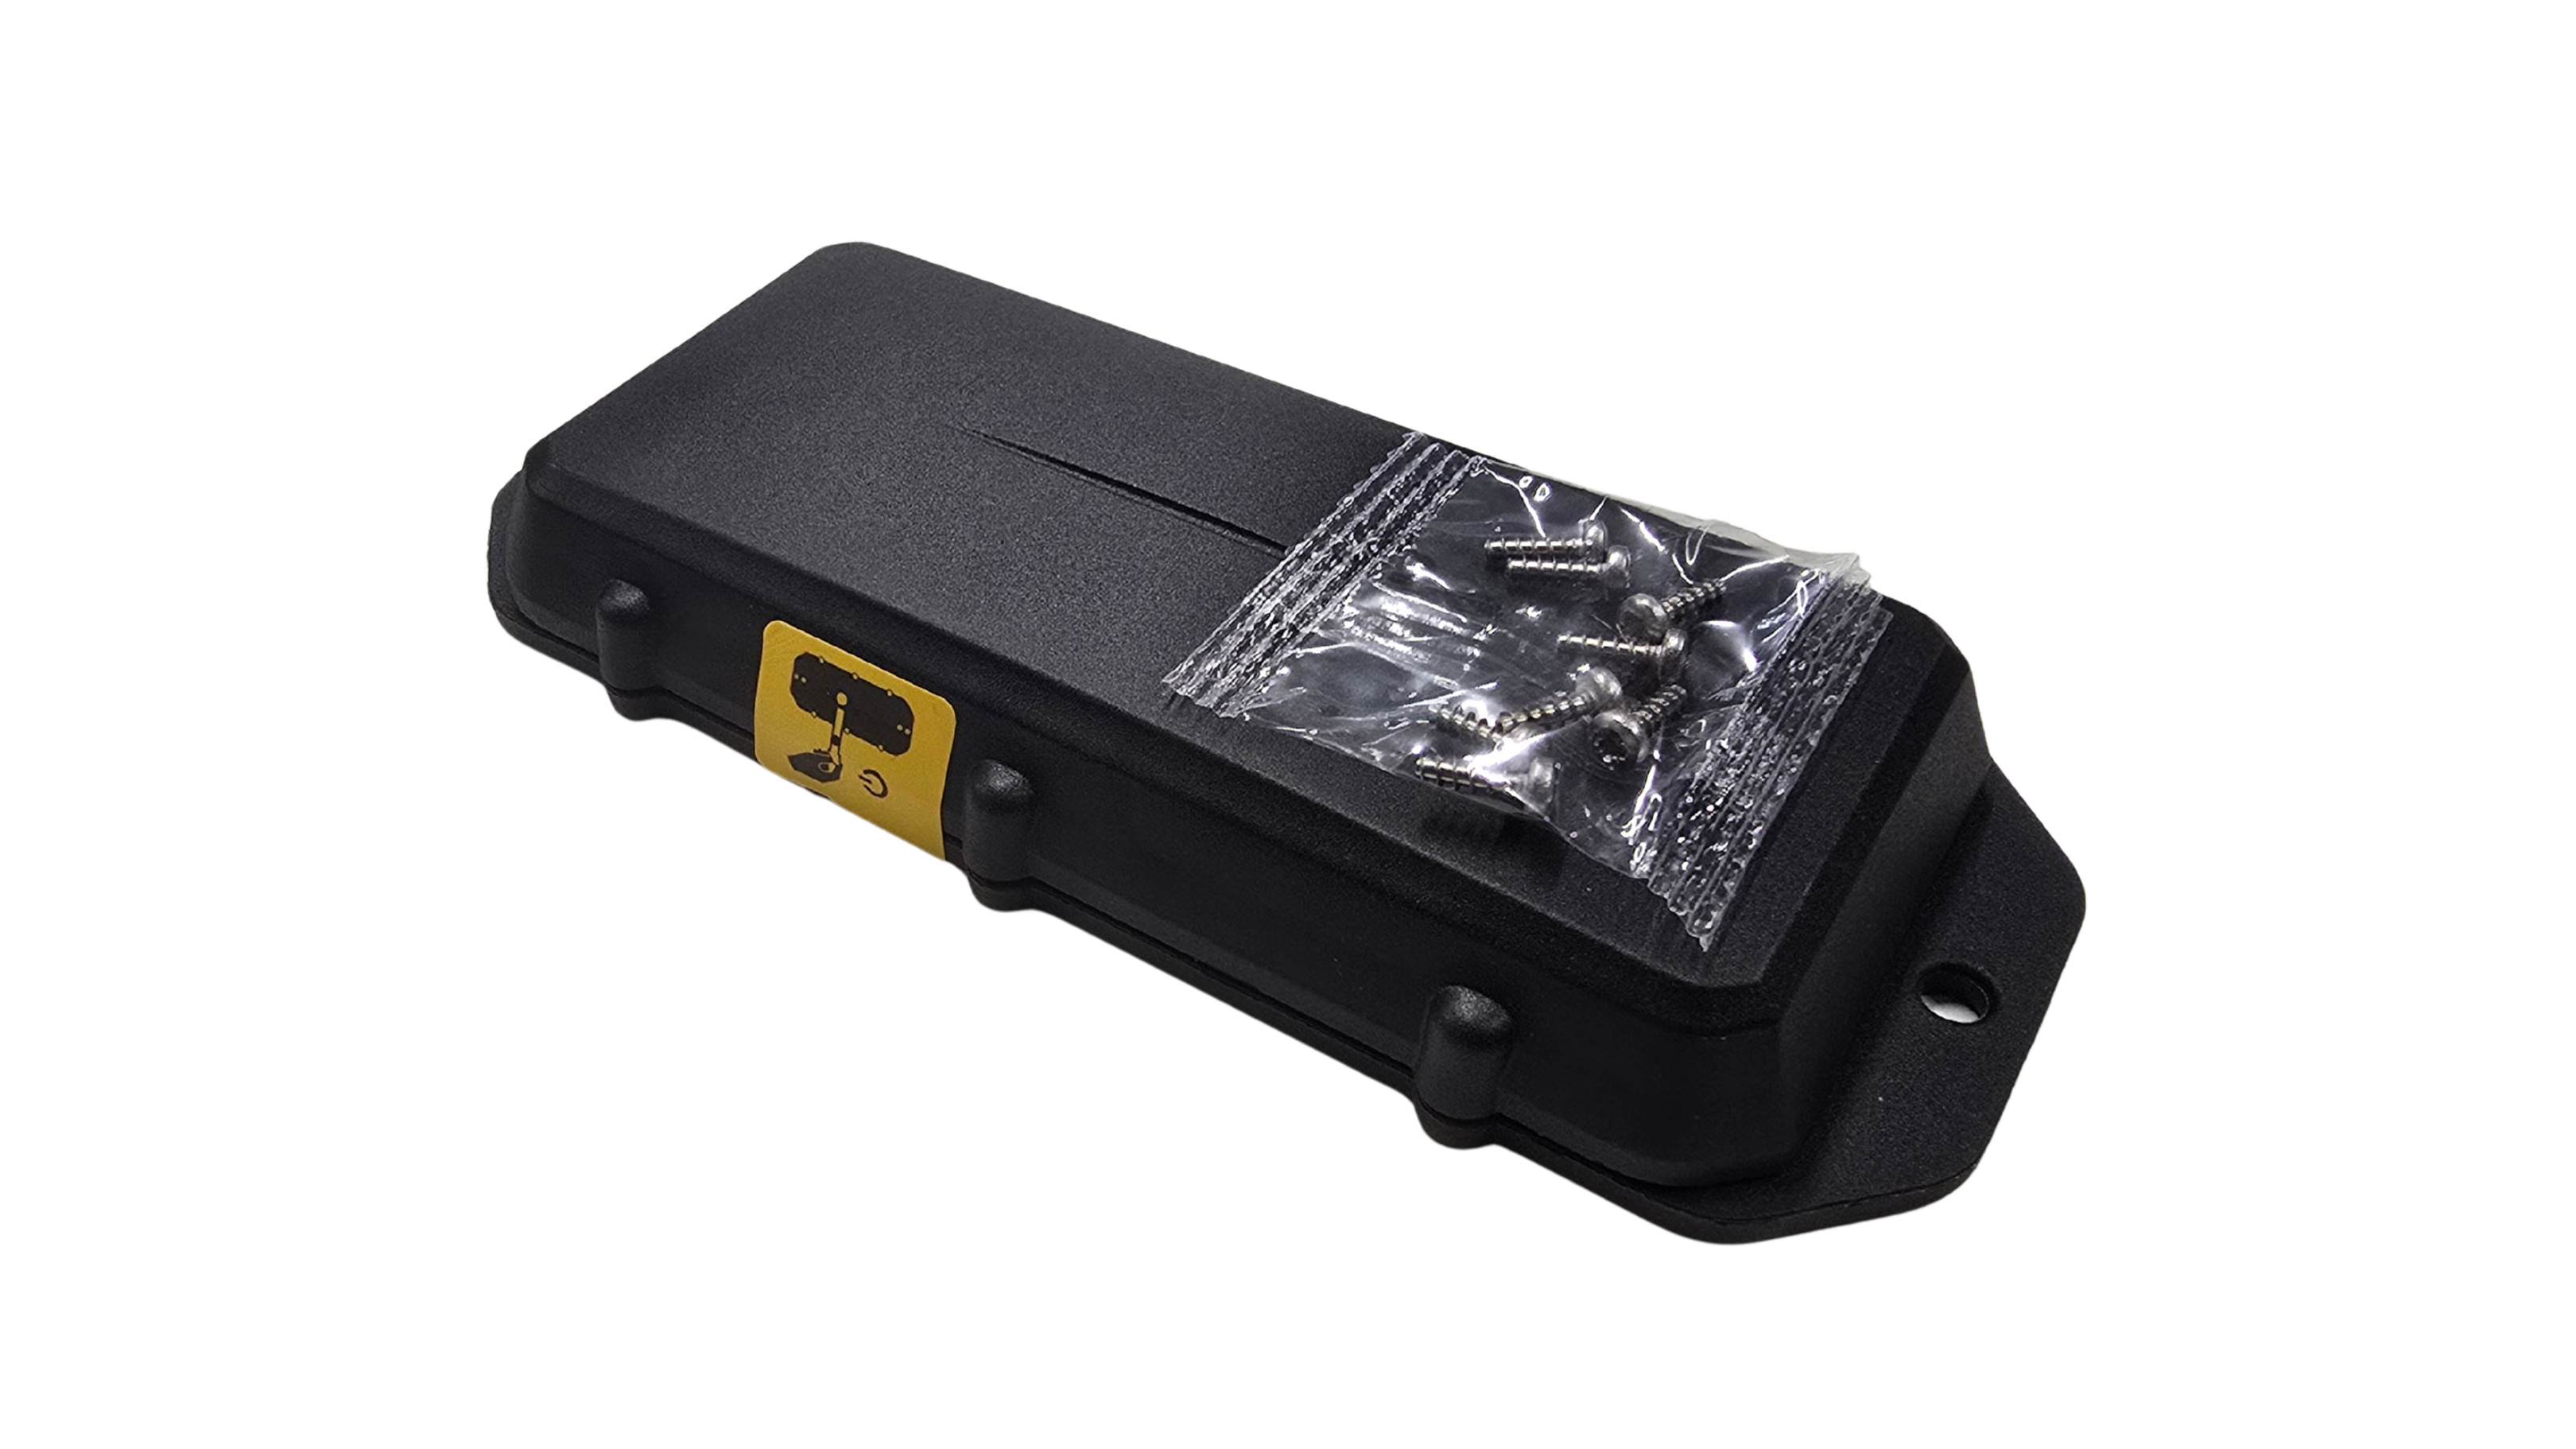
Your tracker comes with 8 screws that can be found in plastic packaging, alongside your tracker. Keep these aside until you have installed the batteries.

Opening the housing and inserting batteries
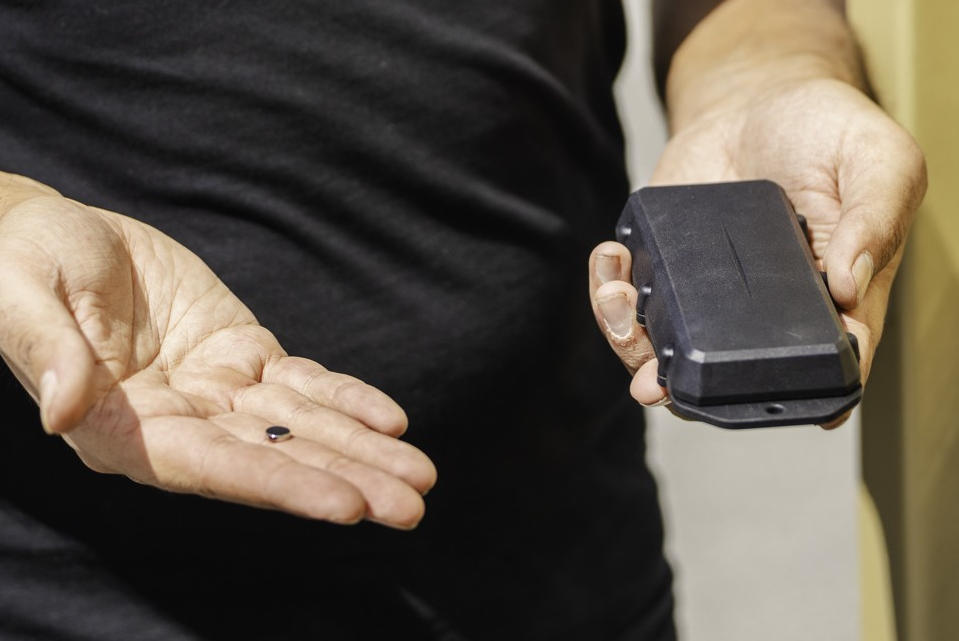
- Place the tracker on a flat surface, remove the yellow sticker and magnet, and gently lift the base of the housing to open.
- Insert 3x AA batteries, ensuring polarity is correct (we recommend Energizer Lithium for maximum performance as their discharge curve is superior to alkaline batteries).
- *IMPORTANT*
If you plan on using the Magnetic Tamper Detection feature, ensure the magnet remains removed until the tracker connects for the first time.
Tightening screws and closing the housing
This GPS tracker has an IP68 and IK07 rated housing. The device must be sealed carefully to achieve the IP68 rating:
1. Ensure that the clear silicon seal is in good condition, is lying flat, and is not fouled by any plastic debris or other material.
2. Close the housing, and gently squeeze it shut. Foam on the lid will compress against the batteries, holding them firmly in place.
3. Tighten the 8 screws to a uniform tightness. On the first assembly, the screws may be quite stiff.
4. The silicone seal is what is responsible for maintaining the integrity of the housing. So when sealing, we are looking for:
5. If you wish to replace the batteries and open the housing, be sure to check that the silicon seal is in good condition before closing the housing again.
Affixing magnet for tamper detection
- Remove magnet and affix to asset.
- Place the tracker directly over the magnet, making sure the magnet aligns with the hole on the underside of the tracker.

Mounting your tracker
Securely mount your GPS tracker to a vehicle or asset using screws, bolts, rivets, zip ties or double-sided tape attached to the base of the tracker's housing (we recommend 3M VHB double-sided tape).
• After inserting the batteries, a red light will begin flashing, indicating the tracker is operating correctly.
• It is normal for the tracker to appear as 'Not connected' for the first five minutes while it downloads the latest settings and completes its initial setup.
• If the tracker does not establish a successful connection before entering Sleep Mode, it will report its location within the first five minutes of its first trip.
- Recommended screw torque - 0.7 Nm
- Replacement screws: 2.5mm x 8mm - Pozi-Pan-Head Screws
