User guide
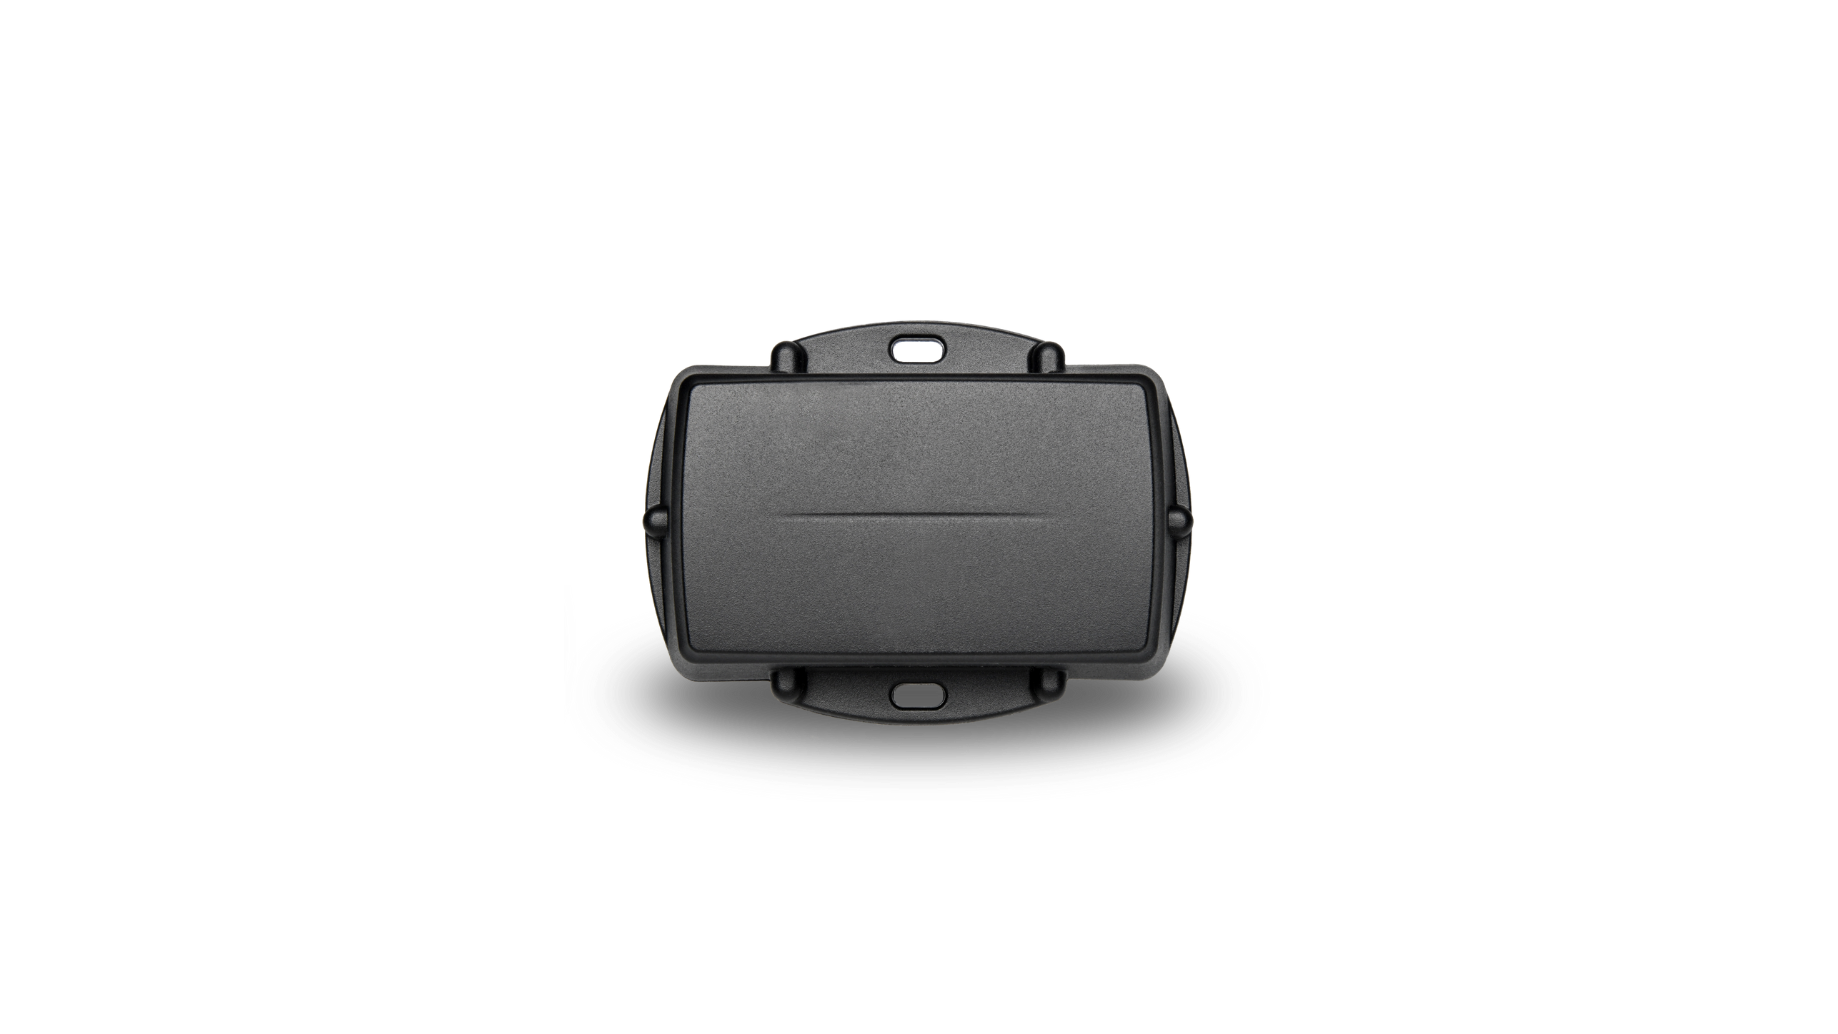
Portable Small Installation
Follow the guide below to install the batteries, check the initial connection, seal the housing and mount your Portable Small tracker.
Before you install
Ensure your tracker has been activated before installation. This tracker must be sealed carefully before being mounted to a vehicle or asset.
Locate the screws
- Your tracker comes with 6 screws in plastic packaging alongside the tracker.
- Keep the screws aside until you have installed the batteries and are ready to close the housing.
- Place the tracker and screws somewhere safe so they are not lost during installation.

Open the housing and insert batteries
- Place the tracker upside down on a flat surface.
- Gently lift the base of the housing to remove it.
- Insert 3x AAA batteries, ensuring the polarity is correct.
- We recommend Energizer Ultimate Lithium batteries for maximum performance, as their battery life is superior to alkaline batteries.

Initial connection
Power check
After inserting the batteries, a red light will begin flashing to indicate the tracker is operating correctly.
Maximising signal
For the best chance of a successful initial connection, keep the tracker outside or near a window with a clear view of the sky.
First update
Log in and wait for the tracker status to update from Not connected (Red) to Stationary with a timestamp (Yellow) before continuing installation.
No connection after 2 minutes?
If the tracker has not connected within 2 minutes of inserting batteries, remove the batteries for 60 seconds, reinsert, then wait for the tracker to update.
GPS signal
If the tracker is showing a timestamp and a yellow dot but no location appears on the map, you can still continue with installation. A live location should appear automatically on the first drive, usually within 5 minutes. GPS performance can vary depending on signal strength, surrounding buildings, weather and other factors.
Close and seal the housing
This tracker has an IP68 and IK06 rated housing. The device must be sealed carefully to achieve the IP68 rating.
- Ensure the clear silicon seal is in good condition, lying flat, and not fouled by plastic debris or other material.
- Close the housing and gently squeeze it shut.
- The foam on the lid will compress against the batteries, holding them firmly in place.
- Tighten the 6 screws to a uniform tightness. On the first assembly, the screws may be quite stiff.
- The silicone seal is what maintains the integrity of the housing, so take care when sealing it.
- If you replace the batteries and open the housing later, check that the silicon seal is in good condition before closing the housing again.

Mount your tracker
- Securely mount your GPS tracker to a vehicle or asset using screws, bolts, rivets, zip ties or double-sided tape attached to the base of the housing.
- We recommend 3M VHB double-sided tape if using adhesive mounting.
- Choose a secure location where the tracker is protected from impact, excessive heat and moving parts.
- Make sure the tracker is firmly mounted and cannot fall away during normal use.
Final checks and replacement screws
- Confirm the housing is fully closed and all 6 screws are tightened evenly.
- Confirm the tracker is securely mounted to the vehicle or asset.
- Confirm the tracker has been activated and appears in your tracking account.
- Replacement screw size: 2.5mm x 8mm Pozi-Pan-Head screws.
Need help?
Contact our team if you need assistance with your installation, activation or initial connection.